These are some personally interesting projects that I've been able to pull off with some great freeware called FreeCAD. Nothing too fancy to see here, but I really enjoy these kinds of projects.
Project 1: The Storage Shed
Setup
A functional need for each of these! I'll start with a shed. My garage, like so many garages, has not yet recovered from Covid, nor has it recovered from two teens that happily toss clothes, backpacks, trash, electronics, basketballs, volleyballs, trash (worth mentioning twice), and other bits they find no immediate need for onto the ground. The teens show no sign of slowing and my only hope of making it through these years is to build a shed to contain some of my tools.
Methodology
Five feet deep, eight feet wide, and eight feet tall at its peak. Add one roof and in the near future, a gutter to supply a rainwater collection system. The initial design is shown below:
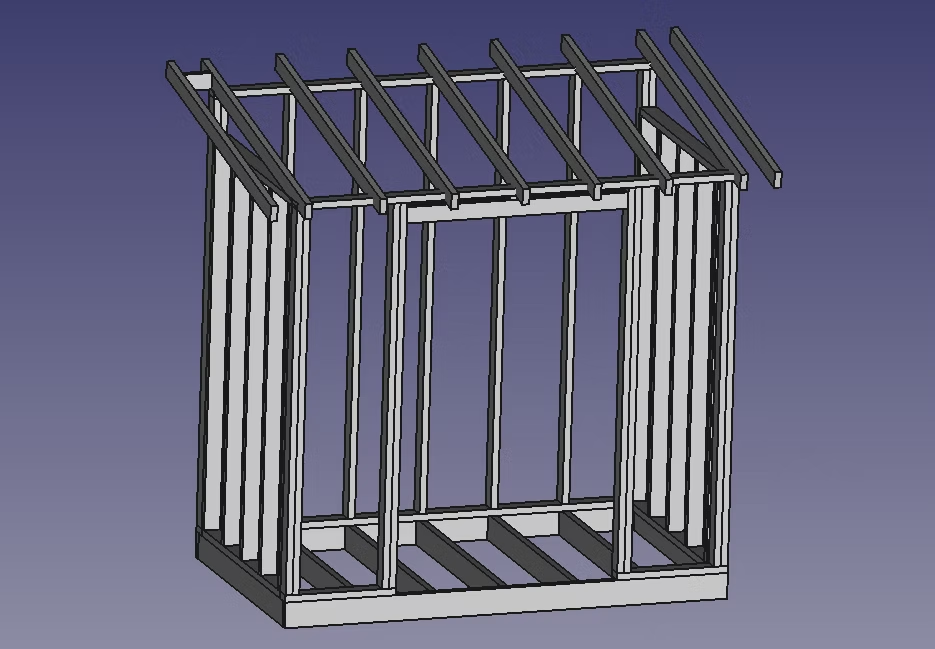
Initial shed design in FreeCAD - 5'x8'x8' with peaked roof
Results
The tricky part was the roof. I definitely could have used a few less pieces, but I store some pretty substantial things in there and I wanted something stout in case I wanted to add onto it later. The base sits on six concrete footings with a small gap between the ground and the bottom. The completed project with one coat of paint.
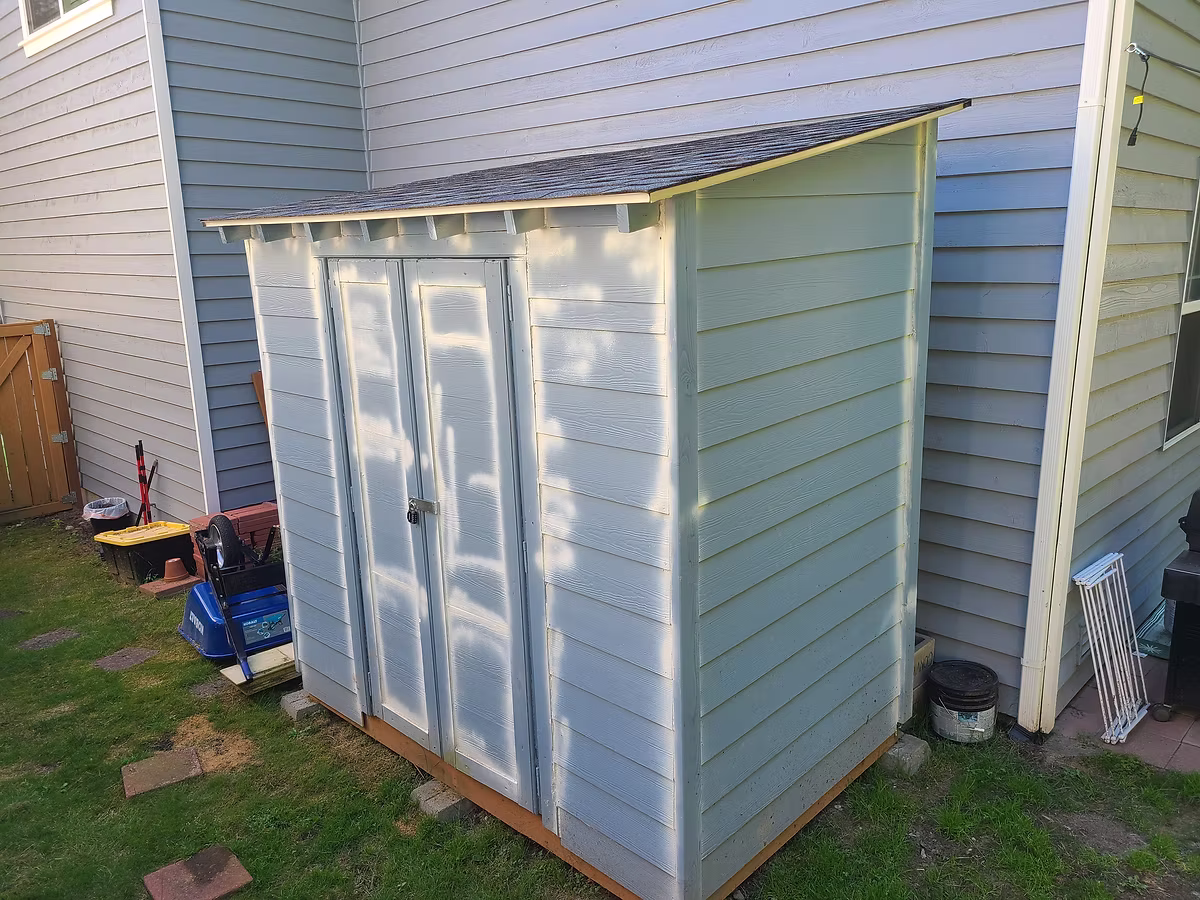
The completed shed - functional storage solution for tools and equipment
The funny white lines all over are where we added acrylic spray over the top of some non-paintable silicon (eyeroll...should have read the package). Another coat of paint for body and trim and it will match the house behind it!
Project 2: Japanese-Inspired Sleeping Pods
Setup
I happen to live closer to my wife's family than I do mine, and the family owns property very near to a lake. The property is great in its own right, but it didn't sleep as many as we would have hoped - extended family, friends, and the occasional birthday party for grandma meant that we needed more beds. Our solution to the lack of space: convert the garage into livable space for four teens PLUS a standalone space for other adults.
Methodology
The garage was huge! It required some serious cleanup including moving the 10-foot tall shelving units, some equipment for RV parking, and disabling the garage doors themselves. We then sealed the interior with fancy paint and a rubberized spray for the baseboards. The real work began after that. The design mimics a real life desire to visit Japan one day.
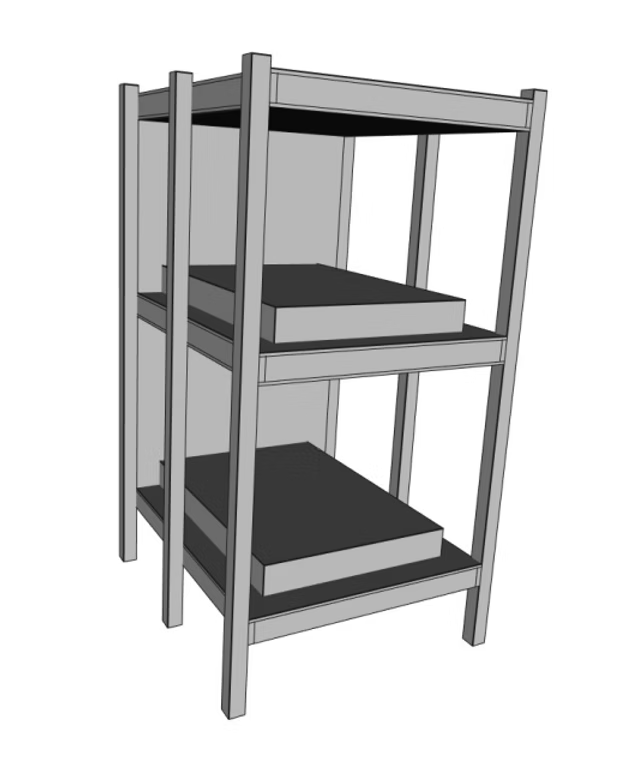
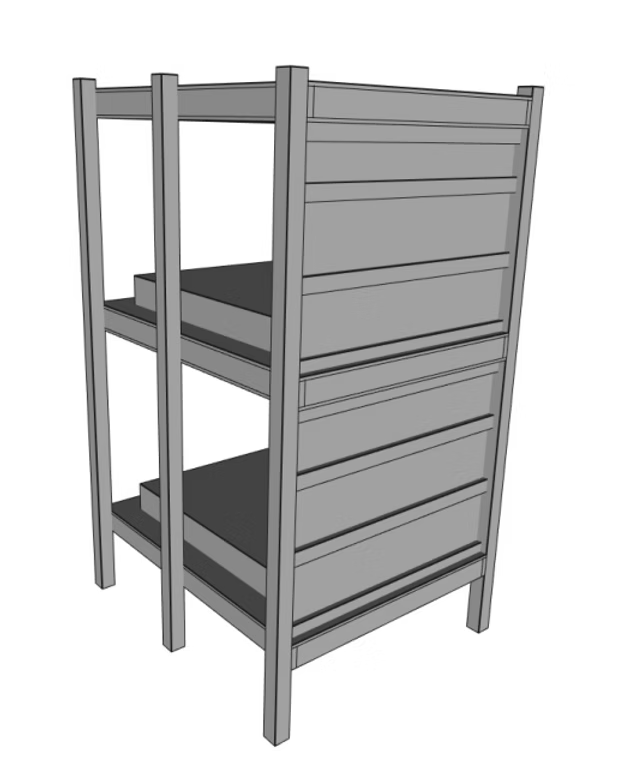
FreeCAD designs for the sleeping pod system - Japanese capsule hotel inspired
Each "pod" holds a queen-size mattress and allows for plenty of space when sitting up. We added some basic wiring to each pod too, suitable for small electronics when we are not outside playing in the lake. The implemented design called for joining the 4x4s you see in the middle for structural strength and to save just a tiny bit of space.
Construction Scale
4,800 pounds of material looks like this:
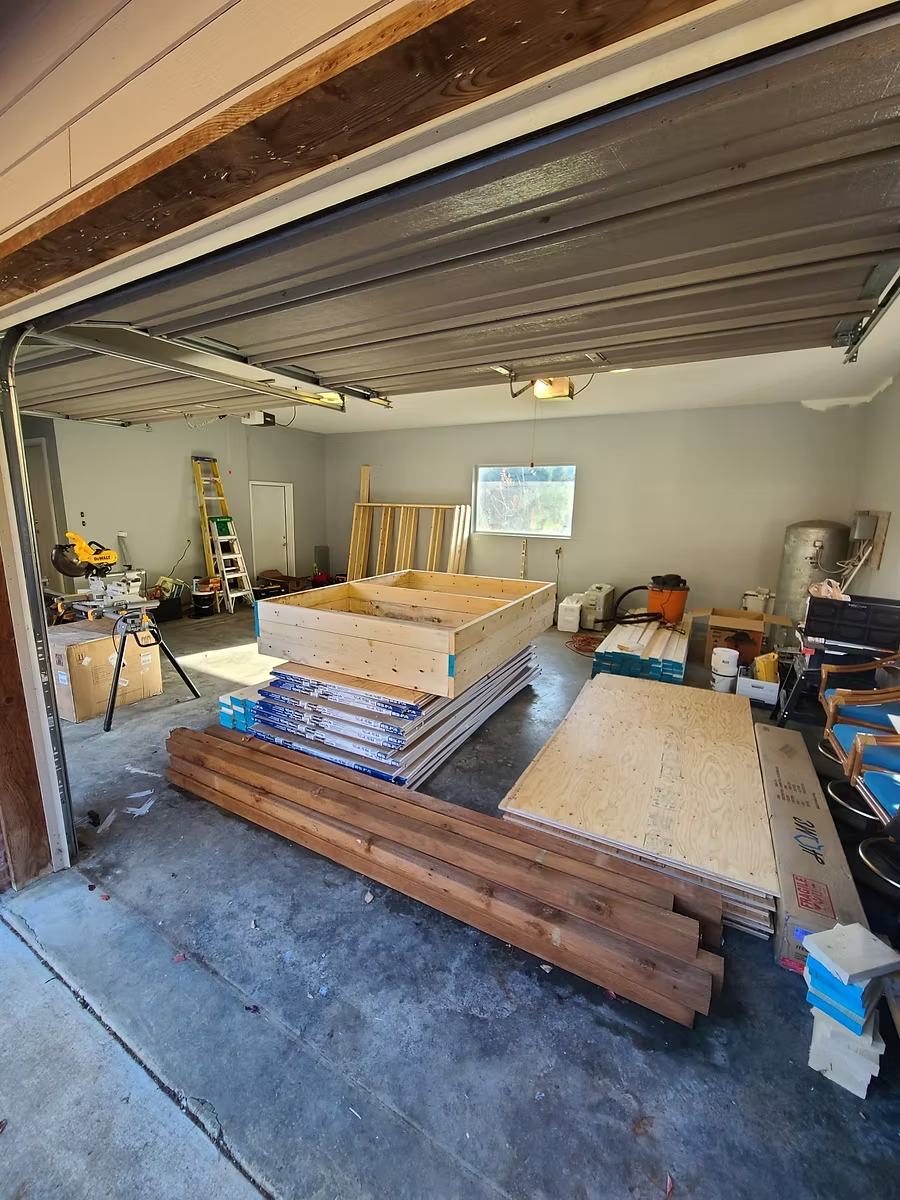
The raw materials - 4,800 pounds of lumber and supplies
A late-night helper with a lot of drywall looks like this:
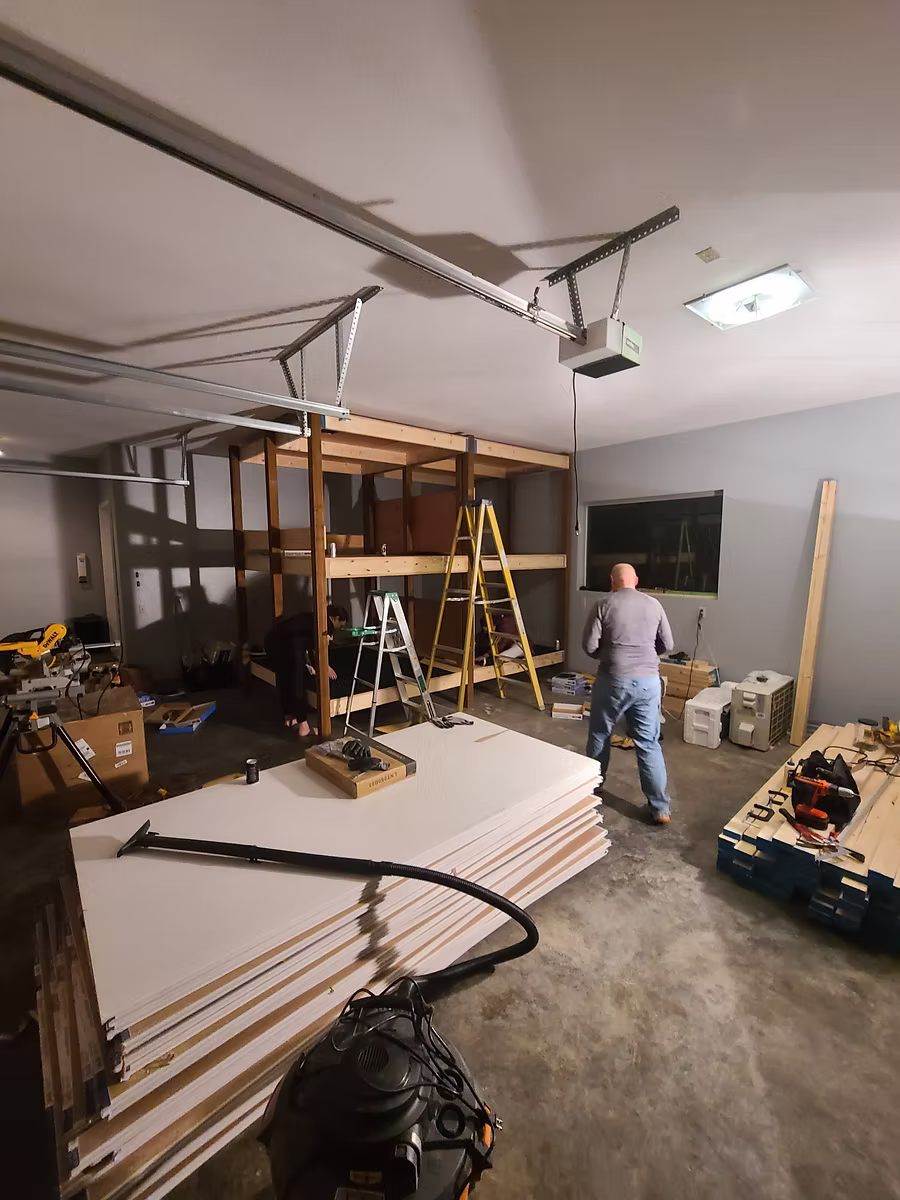
Late-night construction work - hanging drywall in the pods
Results

The completed pods, sans decoration - teen-approved sleeping solution
The completed pods, sans decoration. Three weekends later, we had a teen-approved sleeping pod room. The final structure stands 10 feet tall and each pod is lined with drywall and a plywood roof. We found some cheap sticky floor tiles for carpeting to put the mattresses on and to keep splinters to near-zero.
You can't see the drywall back but trust me, it's there. At the same time, we built an 8x8 foot room that we hang the iron man poster on. It's a little boring to showcase here, but it works great for additional guests. We have since added proper blinds, lots of video games, painted the floors, added furniture, and a fridge for all kinds of things. Later that same month we built an insulating wall and added an AC/Heater split to the wall to keep things cozy.
Project 3: The Neighbor's Gate
Setup
This project is born from a desire to hang with a darn fine human and his lovely family. If only that pesky fence were more useful...
Methodology
Remove one panel, add half back to the bottom. For the top, add two halves. Add hinges, add chain. Add retention mechanism. Enjoy.
Results
We've enjoyed many grill sessions, cocktails, and laughs here. To my neighbors: Gas grilling rules and my ribs are superior. You've seen it here so it must be true. Just to complete the circle, none of this is possible without two amazing women, our wives, who deal with shenanigans ranging far and wide.
Lessons Learned
Each of these projects started with a functional need and evolved into learning experiences. FreeCAD proved invaluable for visualizing designs before putting tool to material, helping avoid costly mistakes and ensuring proper fit.
Key Takeaways
• Planning saves time and materials
• Free software can be incredibly powerful
• Every project teaches something new
• The best projects solve real problems
• Good neighbors make everything better